
A Christmas Apron
Level: Intermediate (yes, I moved up a level:)
Time to Complete: Let's just say, "I'm glad I had a day at home". BUT, don't get discouraged yet! I figured out a way so that it will only take a few hours!!
Cost: It depends a lot on how much you pay for fabric. I only shop sales and use coupons, so there's just the cost of fabric to consider. I probably paid around $8.00 for everything. SO WORTH IT.
Things I Would Do Differently:
- I would actually make the apron without the pockets. They were very time consuming and in the end, I think I would like it better without them.
- I would also make the bands wider (which would require more fabric). But, since they were so skinny, it took quite a bit of time to pull them right side out.
Materials Needed:
- General sewing supplies
- 1/2 yard fabric for skirt
- 1/4 yard fabric for apron pocket
- 1/2 yard for waistband, ties, pocket band, and hem

A week ago I was stuck at home for a day with a sick little girl. I had had a pretty stressful week working on house decisions and working, so it was kind of nice to have a full day at home. While the rest of the family went to church, I got ambitious and decided that I was finally going to make my friend's belated Christmas apron for her. When I saw my friend, Missy, right after Christmas, she gave me her kitchen colors and showed me a picture of her cute kitchen rug. I'm pretty sure she used the words "whimsical" and "like Anthropologie" or something like that. I don't really know how those words describe colors and a style so I of course immediately had to look at Anthropologie's website to get ideas:) I'm not sure if I still quite understand it, but these are the colors and patterns I chose...here's to hoping!

Before I go any further, I want to make sure and give proper credit to the blog that helped me make this apron. When you have time, check out www.sewmuch2luv.blogspot.com to get some cute sewing ideas!
Step One: Cut your material.
Cut (1) 18" by 30 " rectangle.
Cut (1) 9" by 30" rectangle for the pocket.
Cut (2) 3" by 30" strips for the waistband and pocket trim.
Cut (2) 3" by 44" strips for the ties.
Cut (1) 6" by 30" strip for the hem.


Step Two: Make a "Burrito"
Find your 6" by 30" hem strip and your apron skirt pieces.

Take your 6" by 30" hem strip and place it right side up.
Take your apron skirt and place it right side up on top of
the hem fabric. Place it directly on top of the hem fabric.

Now fold the skirt fabric down, right sides together
leaving about an inch of fabric uncovered.

Continue to fold it in on itself 3 or 4 times to make a tight little roll.

Keep folding...

and folding.

Once you have folded down the skirt,
fold over the hem and make your "burrito"!

Step Three: Sew the ends of your "burrito" together.

You should now have a tube that looks something like this.

Step Four: Gently pull the skirt out of your tube.

Keep pulling!

This is what your skirt and bottom hem
should now look like. Iron as needed.

Step Five:
Set aside the skirt for now and find one of your
3" by 30" strips. Fold it in half (wrong sides together)
and press. This is your pocket trim binding.

Step Six:
Place your 3" by 30" strip on top of the 9" by 30" pocket fabric
(pocket fabric should be wrong side up).

Stitch the open ends of the strip to the pocket fabric.

Fold over the pocket binding toward the right side of
the fabric and press. Make sure that when you press your
binding that you cannot see the backside of the pocket
fabric peeking over the top from the front side.
You only want to see the binding at the top edge.

Top stitch close to the edge of the trim binding.
Set the pocket aside for a moment.

It should look something like this.

Step Seven: (Omit this step if you don't want a pocket.)
Now take your skirt and measure 7" from the bottom
of the hem. Using a ruler and a pen or pencil, draw a
line all the way across the width of the skirt.
This will be the placement line for your pocket.

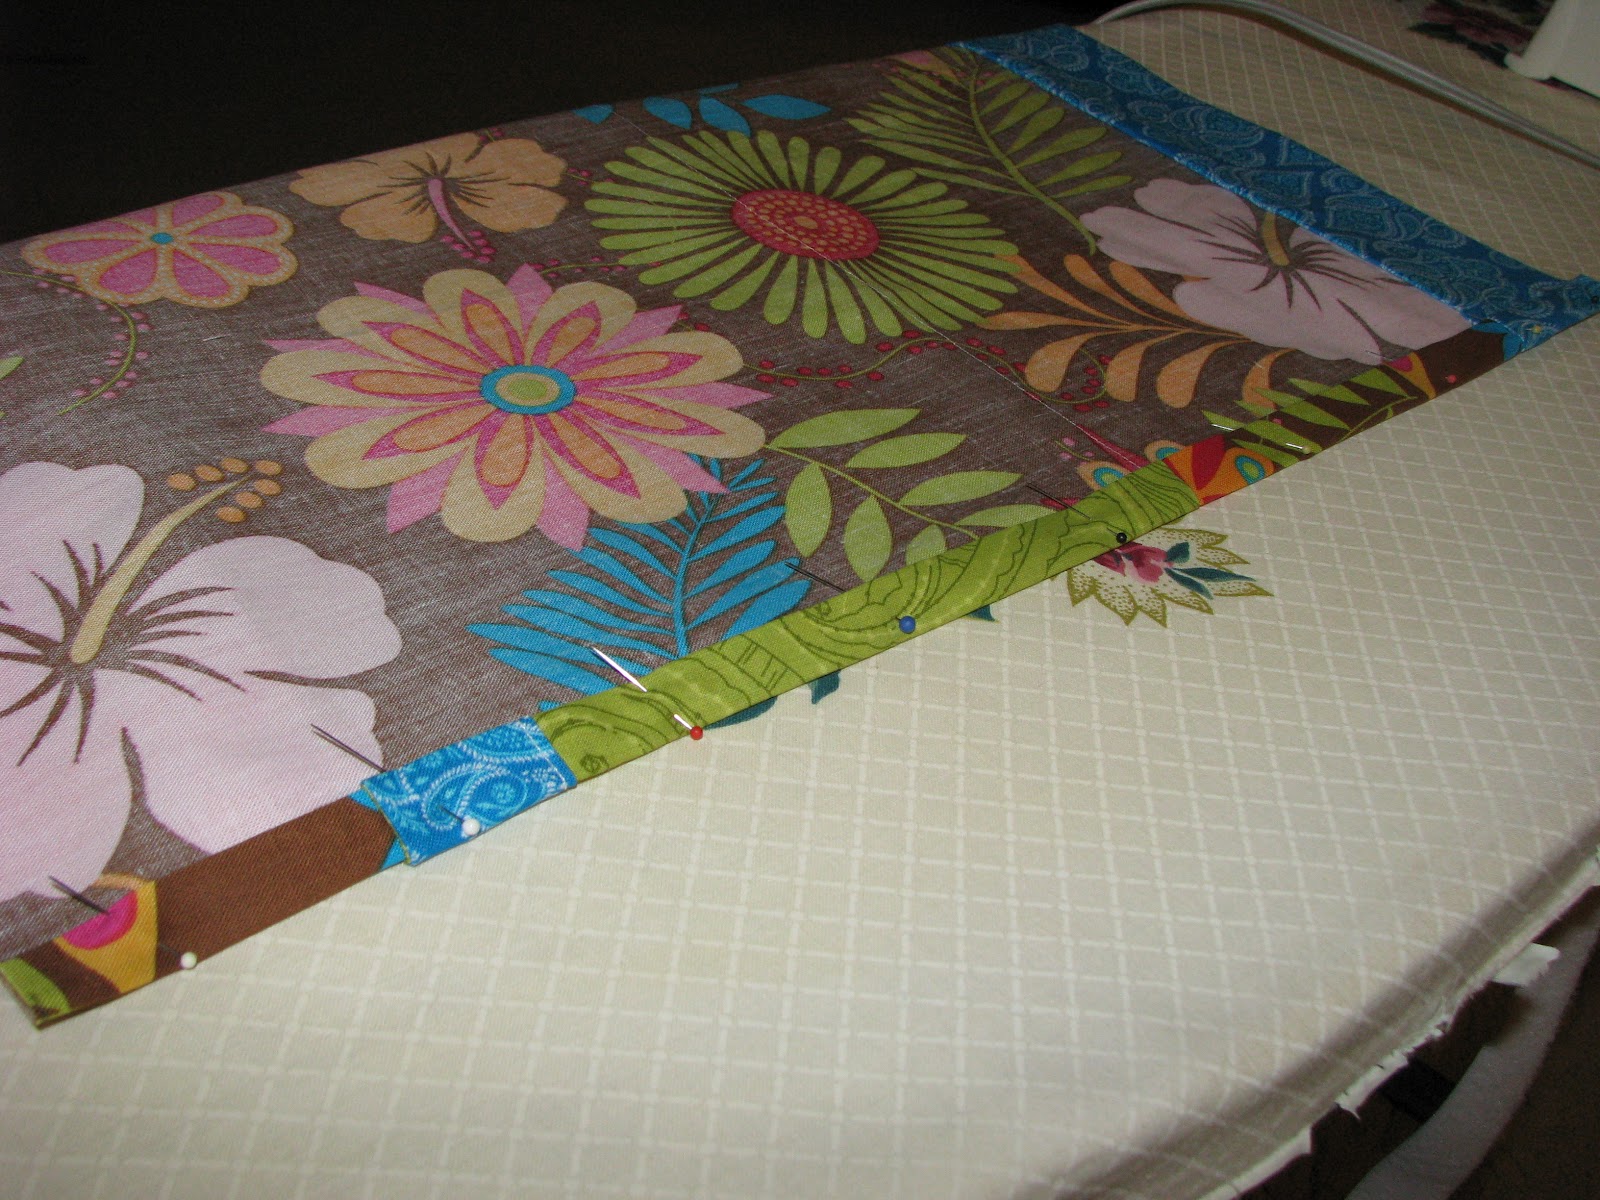
Take the pocket strip and with right sides together,
line up the raw edge of the pocket with the line you drew.
The line in this photo is not very dark.

Stitch the pocket strip to the skirt. Fold the fabric
up toward the top of the skirt and press.

This is what your apron skirt should look like now.

Step Eight:
Baste the edges of the pocket to the apron skirt
along the sides. I used a zig zag stitch.


Step Nine:
Fold over and press your side seams, and then fold over
and press once more to get a clean seam with no raw
edges. Repeat on the other side.

Stitch close to the fold.
Repeat on other side of apron.

Step Ten: (Omit if not making pocket.)
Now take the apron skirt and fold it in half,
wrong sides together. Using a ruler, mark a line down
the pocket at 4 1/2" from the center of the apron.
Flip it over and do the same on the other side. Now you will
have a 9" pocket in the center of your apron. You can use
a disappearing ink pen for this. The mark will be your stitching guide.

Beginning at the bottom of the pocket, stitch following your
guide line to the top edge of the pocket. Do 2 lines
of stitching here (this was my first time doing this).
Always start at the bottom edge of the pocket
to avoid puckering. Repeat for the other side of the pocket.

Now you have three pockets!

Step Eleven:
Now take your remaining 3" by 30" strip and your (2) 3"
by 44" strips. Sew one of the 3" by 44" strips to each
side of the 3" by 30" strip by first pinning them
together wrong sides together.

You should now have one extremely long piece of fabric.
Iron and press open the seams.

Step Twelve:
Lay your apron skirt down, with the right
side of fabric facing up.

Center the waistband that you just created on
top of the apron skirt with right sides together.
You can pin it in place if you like.

Stitch the waistband to the apron skirt.

Step Thirteen: Ironing
Press the skirt hem up toward the waistband.

Next, take one side of the ties and fold it right
sides together and iron a crease in the middle
to make it easier to sew together. Repeat
on other side.

Step Fourteen: The Ties.
Beginning at the end of the tie, stitch the short end together.
With the needle down, pivot and continue sewing until you
get to the apron skirt. Repeat on other side.

Before turning the ties right side out, clip the corner of the apron
tie close to the stitching (but be careful not to clip the threads).
Next, use a wooden dowel or other creative method
to turn the ties right side out!

Be sure that the corners are completely turned out to
get a crisp edge.

Step Fifteen: Almost There!
Press under 1/2" on the raw edge of the waistband.
Now, fold the waistband over and press in place.
Make sure that when you press the waistband the folded edge is
just slightly over the stitching line so that when you top stitch
from the other side you will be sure to catch this side in your seam.

With the right side of the fabric facing up, begin top stitching
at the intersection of the waistband and ties all the
way across your waistband.


The Final Product!!
Next time, I will for sure make it without a pocket.
Unfortunately for Missy, she gets my "guinea pig"
project....sorry Missy!


Love the Packer shirt! :) Good job, Sarah!
ReplyDeleteYayayayay!!!! I can't wait to get it and start using it! I have to say, I feel really lucky to be your guinea pig, and I will make sure to take advantage of those tricky pockets - I will keep my cell phone in one of them while I am cooking so I can talk to you (with my headset). :) And you nailed the colors and style of our kitchen, despite my confusing descriptions. :) Oh yeah, I also noticed the Packer shirt!
ReplyDelete